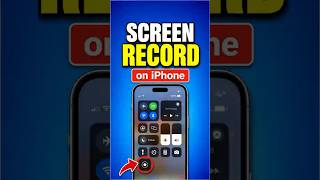
How to Screen Record on iPhone in 45 Seconds
45sThis is a straightforward, highly searched tutorial that provides immediate value, making it perfect for quick engagement and shares.
▶ Play Clip"Delivers exactly what the title promises — a concise, no-filler guide."
This video provides a quick tutorial on how to use the built-in screen recording feature on an iPhone. It covers adding the function to the Control Center, starting and stopping a recording, and where the final video file is saved.
Once stopped, the screen recording is automatically saved to the Photos app.
How do you open the Control Center on an iPhone?
Swipe down from the top right of the screen.
What should you do if you don't see the screen record button in the Control Center?
Tap the plus icon, then search for 'screen recording' and add it.
What happens after you tap the screen record button?
A three-second countdown timer begins before recording starts.
00:15
How do you stop a screen recording?
Tap the recording indicator at the top of the screen, then tap 'stop'.
00:15
Where is the screen recording saved after you stop it?
The recording is automatically saved to the Photos app.
00:15
Quick Access via Control Center
Shows the fastest way to access the feature, which is a key usability point for many users.
Automatic Saving
Clarifies the default save location, saving users from searching for the file.
00:15[00:00] Here's how to screen record on your iPhone. Swipe down from the top right to open up the control center. If you don't see the screen record button, tap the plus icon in the top left, then tap add a control. Search for screen recording or simply tap it in the list to add it.
[00:15] Now tap the screen record button. You'll see a three second countdown timer before recording begins. To stop recording, tap the recording indicator at the top of your screen, then tap stop. Your recording is automatically saved to the Photos app.




⚡ Saved you 0h 00m reading this? Transcribe any YouTube video for free — no signup needed.